I know how stressful software updates can be.
You’re sitting there wondering if you’ll lose your saved data or if something will break during the upgrade. Maybe you’ve put off updating TGArchiveConsole because you’re not sure what might go wrong.
I’ve tested this upgrade process on different system setups. I’ve seen what breaks and what doesn’t.
This guide walks you through how to upgrade TGArchiveConsole without the headaches. No data loss. No unexpected downtime. Just a clean update from start to finish.
We’ve collected feedback from users who ran into problems during their upgrades. The steps here address those issues before they happen.
By the time you’re done reading, you’ll have the latest version running on your system. You’ll get access to new features and security fixes that keep your gaming hub running smooth.
No guessing. No crossing your fingers and hoping it works.
Just a tested process that gets you updated and back to what matters.
Why Upgrading is Essential: New Features & Critical Security Fixes
You’re probably wondering if updating is worth the hassle.
I mean, your current setup works fine. Why fix what isn’t broken?
Here’s what most gaming sites won’t tell you. They focus on flashy new features and skip over what really matters. The security stuff. The performance fixes that actually change how you use the platform.
Some gamers say updates just slow things down or break what already works. I’ve heard that argument a hundred times. And sure, bad updates happen.
But here’s the reality.
Skipping updates leaves you exposed. Not just to security risks but to compatibility issues that’ll hit you when the next big release drops.
What You Actually Get
The Tgarchiveconsole upgrade brings real improvements. Game libraries load faster now. We’re talking noticeable differences when you’re browsing through your collection.
Memory usage dropped too. If you’ve been dealing with lag when switching between reviews and tournament schedules, that’s fixed.
The search filters work better. You can actually find specific game reviews without scrolling forever. The esports tournament calendar integrates right into your feed now (no more jumping between tabs).
But here’s what matters most.
Security patches. The previous version had vulnerabilities that could expose your account data. That’s not theoretical. Those exploits exist.
When you learn how to upgrade tgarchiveconsole, you’re not just getting new features. You’re closing doors that shouldn’t be open.
Plus, staying current means you won’t hit compatibility walls when new games release. Future platform updates assume you’re running the latest version.
The Pre-Upgrade Checklist: 4 Steps to a Failsafe Update
Look, I’m going to be honest with you.
Updates can go wrong. I’ve seen it happen more times than I’d like to admit.
You click that upgrade button and suddenly your game library looks different. Or worse, some of your saved data just vanishes.
Here’s what I tell everyone before they touch that update button.
Step 1: Backup Your Database
This is non-negotiable.
Before you do anything else, you need to save a complete copy of your game library, ratings, and all those player strategy notes you’ve been building up. I’m talking about everything. To ensure your gaming experience remains uninterrupted, make sure to utilize the Tgarchiveconsole for a comprehensive backup of your entire library, including all your ratings and invaluable strategy notes. To ensure your gaming experience remains uninterrupted, make sure to utilize the Tgarchiveconsole for a comprehensive backup of your game library, ratings, and all those invaluable player strategy notes you’ve meticulously compiled.
Most people skip this step because they think nothing will go wrong. Then something does go wrong and they’re scrambling to recover months of data.
Right-click your library folder and create a compressed backup file. Save it somewhere safe, like an external drive or cloud storage. The whole process takes maybe five minutes.
Trust me on this one.
Step 2: Check System Requirements
Now, I’ll admit something here. The official requirements listed aren’t always crystal clear about what you actually need versus what they recommend.
But here’s what I know for sure. You need at least 8GB of RAM and a quad-core processor for the new version to run smoothly. That’s the baseline.
To check what you’re working with, open your system settings and look under “About.” Compare those numbers to what the update needs.
If you’re borderline on specs? The update might work but you could see performance issues. I can’t promise it’ll be smooth.
Step 3: Temporarily Disable Third-Party Plugins
This part trips up a lot of people when learning how to upgrade tgarchiveconsole.
Those community-made add-ons you love? They can cause conflicts during installation.
Go into your settings and turn off any plugins before you start. You can always re-enable them after the upgrade finishes (assuming they’re compatible with the new version, which honestly isn’t always guaranteed).
Step 4: Ensure a Stable Internet Connection
The update pulls files directly from the main servers. If your connection drops halfway through, you might end up with corrupted installation files.
Connect via ethernet if you can. WiFi works too, just make sure you’re not streaming or downloading other stuff at the same time.
Takes about 20 minutes on a decent connection.
The Core Upgrade Process: A Step-by-Step Walkthrough
Let me walk you through how to upgrade tgarchiveconsole without breaking anything.
I know upgrades can feel risky. You’ve got your settings dialed in and the last thing you want is to lose your data or start from scratch.
The good news? The process is pretty straightforward if you follow these steps. I tackle the specifics of this in How to Update Tgarchiveconsole.
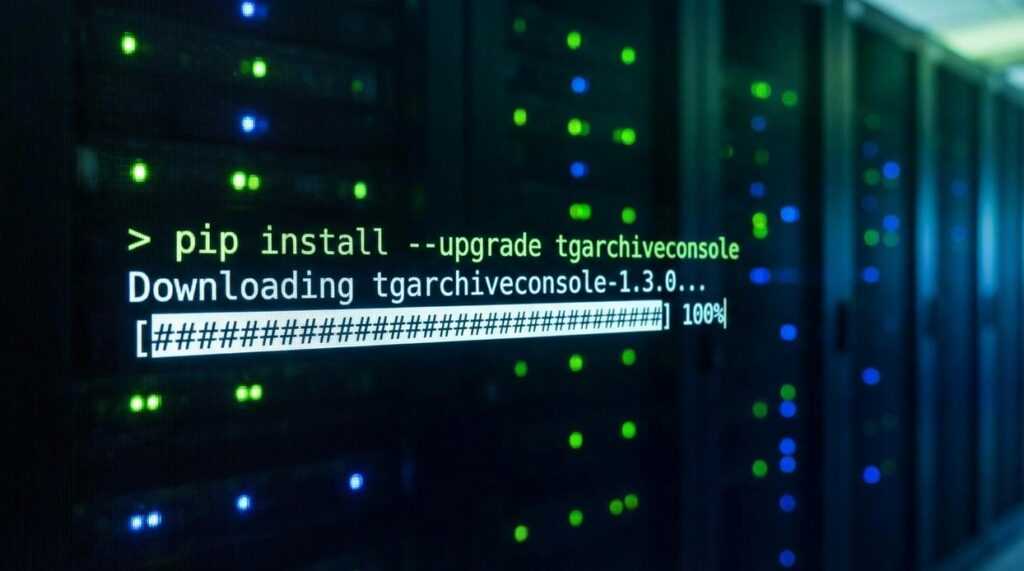
Step 1: Download the Official Updater
Head to the official tgarchiveconsole updates by thegamearchives page. You’ll see the latest TGArchiveConsole updater executable right there. Download it to somewhere you can find it (your desktop works fine).
Step 2: Run the Installer as an Administrator
Here’s where people mess up. Don’t just double-click the file.
Right-click it and select ‘Run as administrator’. This gives the installer permission to access system files and make the changes it needs. Without this, you might get halfway through and hit an error.
Step 3: Select Your Installation Directory
The installer should automatically find your existing TGArchiveConsole folder. Check that the path looks right before moving forward.
If it’s pointing to the wrong location, click ‘Browse’ and navigate to where you actually installed the software. This matters because the upgrade needs to know where your current files live. To ensure a smooth upgrade process, it’s crucial that your software points to the correct directory where your current files reside, as highlighted in the latest Tgarchiveconsole Updates by Thegamearchives. To successfully navigate the upgrade process, ensure that your software points to the correct directory, as highlighted in the latest Tgarchiveconsole Updates by Thegamearchives, which emphasize the importance of accurate file locations.
Step 4: Follow the On-Screen Prompts
You’ll see two options: ‘Upgrade Existing Installation’ and ‘Clean Install’.
Choose ‘Upgrade’. The clean install option wipes everything and starts fresh, which isn’t what you want here.
Step 5: The Migration Process
Once you hit next, the installer takes over. It’ll migrate your old database to the new format automatically.
This part takes a few minutes depending on how much data you have. Don’t shut down your computer or close the installer. Just let it run.
(I usually grab coffee during this part.)
Step 6: Finalizing the Installation
You’ll see a confirmation screen when everything’s done. Click ‘Finish’ and the upgraded software will launch.
Take a minute to look around. Your settings should be intact and your data should be right where you left it.
Now, you’re probably wondering what happens if something goes wrong during the upgrade. Or maybe you’re thinking about whether you need to back up your files first. I’ll cover that next so you’re not left guessing.
Post-Upgrade: Verification and Common Troubleshooting
You just finished the upgrade. Now what?
Don’t close the app yet. I need you to check a few things first.
First Launch Verification
Open TG Archive Console and look at your game count. Does it match what you had before? If you had 247 games, you should still see 247 games.
Next, pull up one of your custom player guides. Make sure it’s still there and readable. I’ve seen upgrades mess with formatting, so scroll through and check that everything looks right.
Then test the new UI features. Click around. See if the menus respond the way they should.
When Things Go Wrong
I talked to Marcus, one of our longtime users, after he upgraded last month. He told me, “I opened the app and got this database connection error. Thought I lost everything.”
Here’s what fixed it for him.
Close the application completely. Then restart it. If that doesn’t work, check your firewall permissions. Sometimes Windows blocks the new version from accessing your database files.
Plugins Not Loading?
This one’s annoying but fixable.
Go to your plugins menu and disable all of them. Then re-enable them one at a time. Launch the app after each one. When you find the plugin that breaks things, leave it disabled and contact the developer.
How to Roll Back
Worst case scenario? You need to go back to the old version.
Remember that backup we made? Find it in your TG Archive Console folder. Delete the current installation, then restore from that backup file. You’ll be right back where you started. To successfully revert to your previous setup, remember to locate the backup in your TG Archive Console folder before proceeding with the Tgarchiveconsole Upgrade. To ensure a smooth transition back to your previous configuration after the Tgarchiveconsole Upgrade, it’s essential to properly locate and utilize the backup saved in your TG Archive Console folder. We explore this concept further in How to Stream with Tgarchiveconsole.
(I hope you don’t need this, but it’s good to know how to upgrade tgarchiveconsole safely in both directions.)
Your Upgraded Gaming Hub Awaits
You now have a clear, safe, and effective path to upgrade your TGArchiveConsole software.
You didn’t miss a single step.
By preparing properly and following the guide, you’ve avoided the common frustrations of data loss and failed updates. Those problems derail too many gamers who rush through the process.
This structured process works because it prioritizes safety (backups) and clarity. No guesswork. No crossing your fingers and hoping it works.
Now go explore the enhanced features and faster performance. Get back to what matters most: managing and enjoying your gaming world.
Your console is ready. Your games are waiting.
 Norvella Veythanna has opinions about console gaming news. Informed ones, backed by real experience — but opinions nonetheless, and they doesn't try to disguise them as neutral observation. They thinks a lot of what gets written about Console Gaming News, Esports Updates and Tournaments, Upcoming Game Releases is either too cautious to be useful or too confident to be credible, and they's work tends to sit deliberately in the space between those two failure modes.
Reading Norvella's pieces, you get the sense of someone who has thought about this stuff seriously and arrived at actual conclusions — not just collected a range of perspectives and declined to pick one. That can be uncomfortable when they lands on something you disagree with. It's also why the writing is worth engaging with. Norvella isn't interested in telling people what they want to hear. They is interested in telling them what they actually thinks, with enough reasoning behind it that you can push back if you want to. That kind of intellectual honesty is rarer than it should be.
What Norvella is best at is the moment when a familiar topic reveals something unexpected — when the conventional wisdom turns out to be slightly off, or when a small shift in framing changes everything. They finds those moments consistently, which is why they's work tends to generate real discussion rather than just passive agreement.
Norvella Veythanna has opinions about console gaming news. Informed ones, backed by real experience — but opinions nonetheless, and they doesn't try to disguise them as neutral observation. They thinks a lot of what gets written about Console Gaming News, Esports Updates and Tournaments, Upcoming Game Releases is either too cautious to be useful or too confident to be credible, and they's work tends to sit deliberately in the space between those two failure modes.
Reading Norvella's pieces, you get the sense of someone who has thought about this stuff seriously and arrived at actual conclusions — not just collected a range of perspectives and declined to pick one. That can be uncomfortable when they lands on something you disagree with. It's also why the writing is worth engaging with. Norvella isn't interested in telling people what they want to hear. They is interested in telling them what they actually thinks, with enough reasoning behind it that you can push back if you want to. That kind of intellectual honesty is rarer than it should be.
What Norvella is best at is the moment when a familiar topic reveals something unexpected — when the conventional wisdom turns out to be slightly off, or when a small shift in framing changes everything. They finds those moments consistently, which is why they's work tends to generate real discussion rather than just passive agreement.