I remember the first time I set up a new console and spent an hour troubleshooting why nothing appeared on my screen. Turns out I had the HDMI in the wrong port.
You just unboxed your new console and you want to start playing. But first you need to get through setup, and that’s where things can get confusing fast.
TG Archive Console setup doesn’t have to be complicated. I’m going to walk you through every step so you can avoid the mistakes most people make.
This guide covers the physical connections, system configuration, and settings that actually matter for your gaming experience. No fluff about features you’ll never use.
I’ve set up dozens of consoles over the years. I know which steps trip people up and which settings make the biggest difference once you’re in a game.
You’ll get your console connected, updated, and optimized in less time than it takes to download your first game.
Let’s get you playing.
Step 1: Unboxing and Physical Connections
Open the box and take everything out slowly.
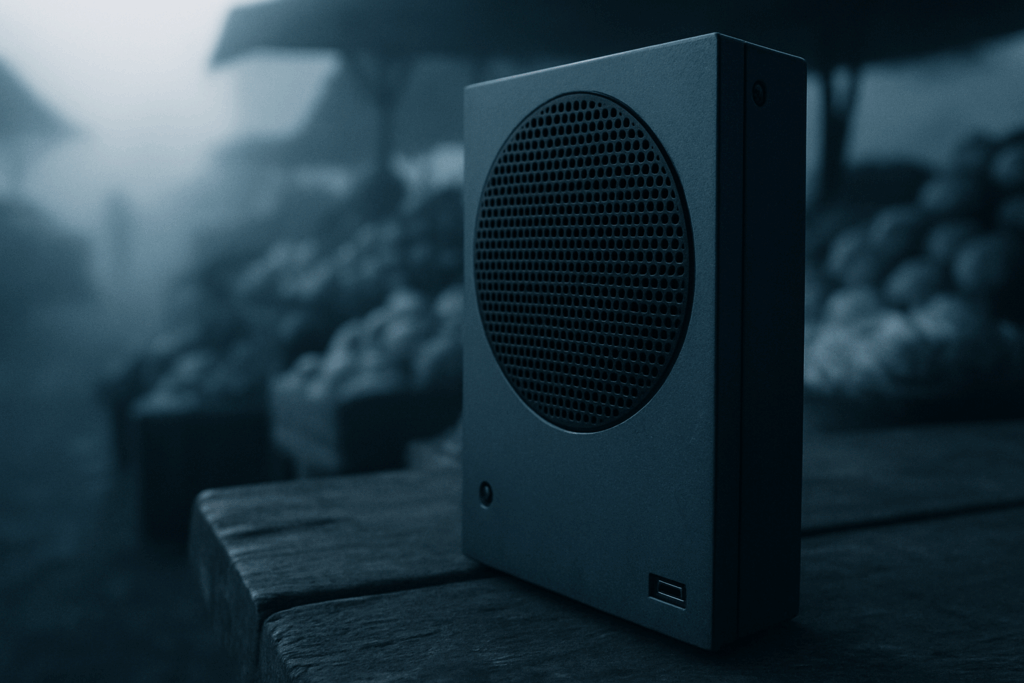
You’ll find your TG Archive Console unit, one wireless controller, a high-speed HDMI cable, and a power cord. That’s all you need to get started.
Connecting to Your Display
Grab the HDMI cable. Plug one end into the HDMI Out port on the back of your console. The other end goes into any open HDMI port on your TV or monitor.
Simple enough, right?
Powering Up
Now connect the power cord to your console. Plug the other end into a wall outlet or surge protector (I always recommend a surge protector).
Where to Place Your Console
Here’s something people overlook. Your console needs room to breathe.
Give it at least 4 to 6 inches of clear space on all sides. Cramming it into a tight entertainment center might look clean, but you’ll run into overheating issues during long gaming sessions.
What comes next?
Once everything’s plugged in, you’re probably wondering about the initial setup process. That’s where we’ll walk through powering on your tgarchiveconsole and connecting to your network. But first, make sure all your cables are secure and your console has proper ventilation.
You don’t want to rush through the physical setup only to deal with connection problems later.
Step 2: Initial On-Screen System Setup
I remember the first time I set up a new console.
I skipped past half the screens because I just wanted to play. Big mistake. Spent the next hour troubleshooting why I couldn’t access the store.
Don’t be like me.
First Boot
Press the power button on your console. The setup wizard starts automatically on your screen.
You can’t skip this part. The system won’t let you.
Language, Region, and Time
Use your controller to pick your language. Then select your country and time zone.
Some people think these settings don’t matter much. They figure you can always change them later (which is true). While some players believe that settings like the Tgarchiveconsole can be adjusted at any time without consequence, taking the time to configure them properly from the start can significantly enhance the overall gaming experience. While some players believe that settings like the Tgarchiveconsole can be adjusted at any time without consequence, investing the effort to fine-tune them from the outset can significantly enhance your gaming experience.
But here’s what they’re missing.
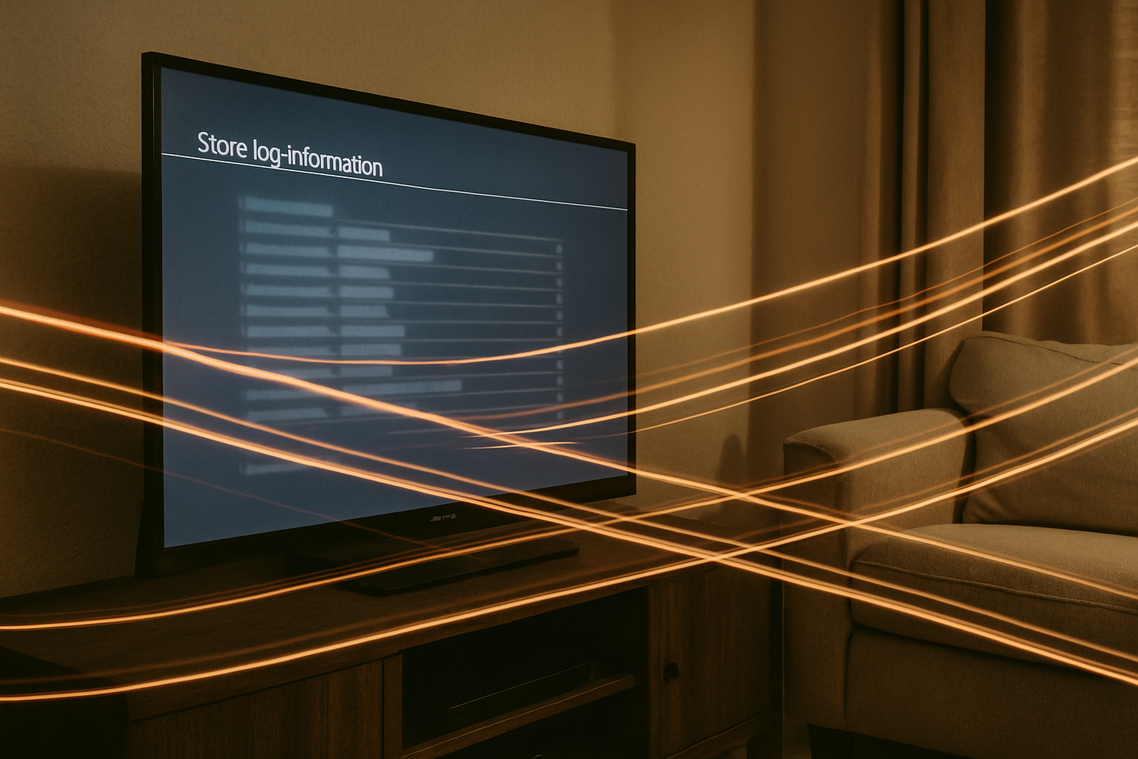
Your region determines which digital store you access. Pick the wrong one and you might not see certain games or deals available in your actual location.
Network Configuration
Now comes the internet connection.
The console will ask if you want wired or wireless. I always go wired with an Ethernet cable when I can. Downloads are faster and you won’t deal with random disconnects during tgarchiveconsole set up.
If you’re using Wi-Fi, find your network name in the list and type in your password. Make sure you get it right the first time.
System Software Update
Here’s the part nobody likes but everyone needs.
Your console will download the latest system update. This isn’t optional. You need it for security patches and to access online features.
The download time depends on your internet speed. Could be five minutes or thirty.
Let it finish completely. The console might restart once or twice. Don’t unplug anything or turn it off manually.
Just wait it out.
Step 3: Creating Your Player Profile and Account
You’ve got two paths here.
You can set up a basic local profile and call it a day. Or you can connect to a TG Archive account and unlock the full experience.
Most people go with the second option (and I think you should too).
Here’s how it breaks down.
Local Profile vs TG Archive Account
A local profile lets you play offline games. That’s it. You can’t buy digital games, play online with friends, or save your progress to the cloud. If something happens to your console, your saves are gone.
A TG Archive account changes everything. You get access to the digital store, online multiplayer, and cloud saves that follow you anywhere. Plus, if you’re wondering does Tgarchiveconsole provide online services, this is where those features kick in.
Setting Up Your Profile
- Create your local user first. Pick a username and avatar.
- The tgarchiveconsole set up will prompt you to sign in or create a TG Archive account.
- If you already have an account, just enter your credentials. New user? Follow the prompts to set one up.
The whole process takes maybe five minutes.
Privacy Settings Matter
Before you finish, take a minute with the privacy controls. You can decide who sees your activity, who can message you, and who can join your games.
Setting this up for kids? The parental controls here are solid. You can limit screen time, block certain content ratings, and even approve purchases before they go through.
For coordinating with your gaming crew outside the console, my.telegram.org is a solid option for setting up group chats and staying connected with friends between sessions. For families looking to enhance their gaming experience, the Tgarchiveconsole Upgrades offer robust parental controls that not only limit screen time and block certain content ratings but also ensure that purchases are approved before completion, making it a great choice for kids. For parents looking to enhance their kids’ gaming experience while ensuring safety, the Tgarchiveconsole Upgrades offer robust parental controls and seamless communication options through platforms like my.telegram.org.
Don’t skip this part. It saves headaches later.
Step 4: Optimizing Display and Audio Settings
You’ve got your console connected and running.
Now let’s make it look and sound the way it should.
Video Output Settings
Head to Settings and find Display & Screen. This is where you tell your console what your TV can handle.
If you’ve got a 4K TV, set the resolution to 4K. If not, stick with 1080p. Your console will usually detect this automatically but it’s worth checking.
Got an HDR-capable TV? Turn that on. The difference is real (especially in games with good lighting).
Adjust Screen Area
Sometimes the image doesn’t quite fit right. You’ll see black bars or parts of the UI get cut off.
Use the Adjust Display Area tool to fix this. It’s basically moving sliders until everything fits your screen properly. Takes about 30 seconds.
Audio Output Configuration
Go back to Settings and open Sound.
Pick your primary audio output device. If you’re using your TV speakers or a soundbar connected through HDMI, that’s your choice. If you game with a headset, select that instead.
Here’s where it matters. Choose Linear PCM if you’re running basic stereo sound. If you’ve got a surround sound system, go with Bitstream and pick either Dolby or DTS depending on what your system supports.
Pro tip: If you’re not sure what your sound system handles, check the manual or just try both. You’ll hear the difference.
These Tgarchiveconsole Upgrades to your display and audio settings make a bigger difference than most people think. Especially once you start playing.
You’re basically done with tgarchiveconsole set up now.
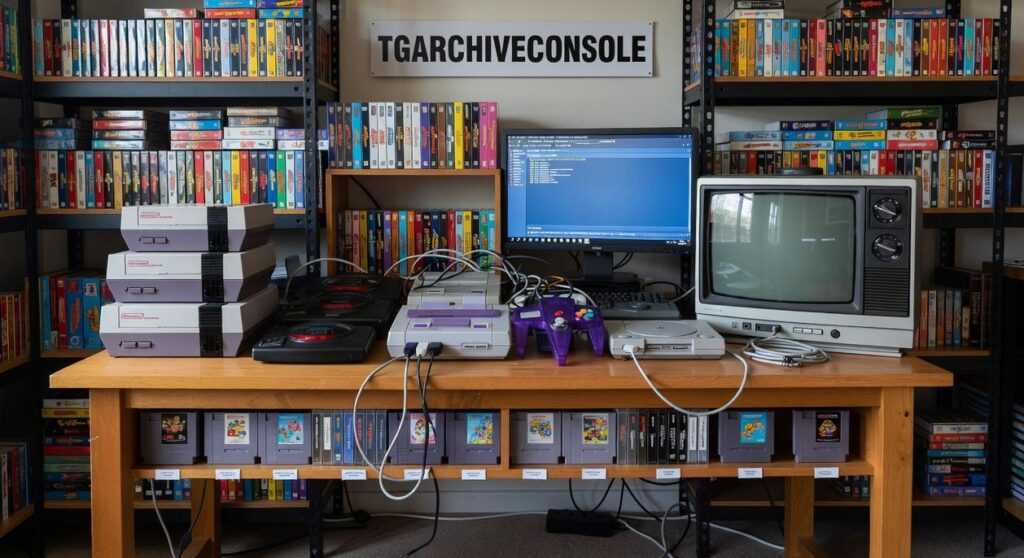
Step 5: Exploring the Dashboard and Game Store
You’ve made it through setup. Now comes the fun part.
The dashboard is where you’ll spend most of your time. Your game library sits front and center. You’ll also see the digital store, settings, and your friends list.
It’s pretty straightforward once you poke around for a minute.
Finding the Store
Look for the TG Game Store icon. That’s where you’ll browse new releases and sales. They also have demos if you want to try before you buy.
Here’s where I need to be honest with you.
The store layout changes sometimes. I’m not entirely sure why they move things around (maybe user feedback or seasonal promotions). What I can tell you is the store icon usually stays in the same general area on the main menu.
Got a Download Code?
Select Redeem Code in the store menu. Type it in and your download starts.
Some codes work differently depending on where you got them. Retail codes versus promotional ones sometimes have different redemption paths. If yours doesn’t work right away, double check you’re in the right redemption section. When troubleshooting code redemption issues, it’s essential to consider factors like the specific source of your code and whether it aligns with the redemption process outlined by the platform, as some users may wonder, “Does Tgarchiveconsole Provide Online Services” that could assist in clarifying these discrepancies. When troubleshooting code redemption issues, it’s essential to consider factors such as the type of code you have and whether the platform you’re using, like “Does Tgarchiveconsole Provide Online Services,” might affect the redemption process.
The tgarchiveconsole interface makes this pretty simple once you know where to look.
Take five minutes to click through everything. You’ll figure out where things are faster than reading any guide I could write.
You’re Ready to Play
Your TG Archive console is configured and ready to go.
You’ve connected everything. You’ve optimized the settings for your hardware. The hard part is done.
Now comes the fun part.
Download your first game and jump in. That’s what you set this up for in the first place.
If you’re not sure where to start, I’ve got you covered. Check out our latest reviews and player strategy guides. They’ll point you toward games that match what you’re looking for.
Your tgarchiveconsole setup is complete. Time to see what it can do.
 Norvella Veythanna has opinions about console gaming news. Informed ones, backed by real experience — but opinions nonetheless, and they doesn't try to disguise them as neutral observation. They thinks a lot of what gets written about Console Gaming News, Esports Updates and Tournaments, Upcoming Game Releases is either too cautious to be useful or too confident to be credible, and they's work tends to sit deliberately in the space between those two failure modes.
Reading Norvella's pieces, you get the sense of someone who has thought about this stuff seriously and arrived at actual conclusions — not just collected a range of perspectives and declined to pick one. That can be uncomfortable when they lands on something you disagree with. It's also why the writing is worth engaging with. Norvella isn't interested in telling people what they want to hear. They is interested in telling them what they actually thinks, with enough reasoning behind it that you can push back if you want to. That kind of intellectual honesty is rarer than it should be.
What Norvella is best at is the moment when a familiar topic reveals something unexpected — when the conventional wisdom turns out to be slightly off, or when a small shift in framing changes everything. They finds those moments consistently, which is why they's work tends to generate real discussion rather than just passive agreement.
Norvella Veythanna has opinions about console gaming news. Informed ones, backed by real experience — but opinions nonetheless, and they doesn't try to disguise them as neutral observation. They thinks a lot of what gets written about Console Gaming News, Esports Updates and Tournaments, Upcoming Game Releases is either too cautious to be useful or too confident to be credible, and they's work tends to sit deliberately in the space between those two failure modes.
Reading Norvella's pieces, you get the sense of someone who has thought about this stuff seriously and arrived at actual conclusions — not just collected a range of perspectives and declined to pick one. That can be uncomfortable when they lands on something you disagree with. It's also why the writing is worth engaging with. Norvella isn't interested in telling people what they want to hear. They is interested in telling them what they actually thinks, with enough reasoning behind it that you can push back if you want to. That kind of intellectual honesty is rarer than it should be.
What Norvella is best at is the moment when a familiar topic reveals something unexpected — when the conventional wisdom turns out to be slightly off, or when a small shift in framing changes everything. They finds those moments consistently, which is why they's work tends to generate real discussion rather than just passive agreement.